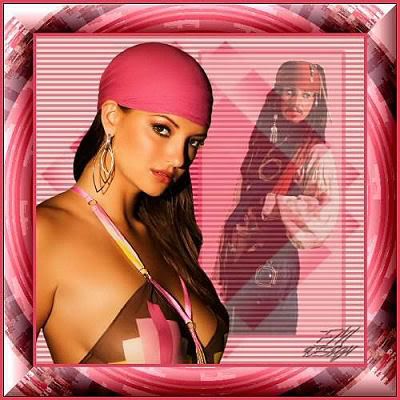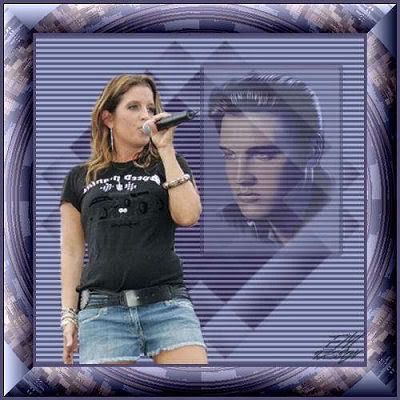
Click on the image for truth size
Needed:
1 background tube (approximately 280 pixels high)
1 foreground tube (approximately 280 pixels high)
Mask:
Ahoy masker

Plugins:
VM Extravaganza
VM Instant art
NVR BorderMania
1. Open the tubes and mask in psp
2. Take two colors with your piped from your tube, light foreground color and a dark backgound color
3. Open a new image 500 x 500 pixels transparent
4. Activate flood fill tool and fill the image with foreground color
5. Layers - new raster layer
6. Fill this layer with background layer
7. Layers - new mask layer - from image - Ahoy masker
source luminace and unmark invert mask data
8. Layers - merge - merge all flatten
9. Effects - plugins - VM Extravaganza – Transmission
4 – 0 – 40
10. Go to the background tube,
Edit - copy
11. Return to the image
Edit - paste - paste as a new layer
12. Activate move tool and move the tube entirely to Right
See example
13. Activate selection tool - rectangle, pull a rectangle around the tube
14. Selections - modify - select selections borders
Outsite – 5 – mark anti alias
15. Activate flood fill tool and fill the selection with background color
16. Selections - select none
17. Activate magic wand, tolerance and feather 0,
select the middle of the rectangle
18. Activate flood fill tool And fill the selection with foreground color
19. Selections - select none
20. Go to the layer palette and set opacity from the tube layer on 50
21. Go to the foreground tube,
Edit - copy
22. Return to the image
Edit - paste - paste as a new layer
23. Activate move tool and move the tube entirely to the left side
(see example)
24. Layers - merge - merge all flatten
25. Image - add borders - 5 pixels background color
Mark symmetric
26. Image - add borders - 45 pixels foreground color
Mark symmetric
27. Activate magic tool, tolerance and feather 0,
select the 45 pixels border
28. Effects - plugins – VM Instant Art – Round and Round
45 – 32 – 178.
29. Image - add borders - 5 pixels background color
Mark symmetric
30. Effects - plugins - Border Mania – Frame 2
upper drawer on 45 and the second drawer on 0
31. Selections - select none
32. Layer - new raster layer, place on this your water mark.
33. Image - resize - 500 pixels.
Save and ready is Ahoy Frame.
We are very curious to your development of this tutorial.
This lesson cannot without authorisation of EM design on another
forum or website' s be placed. This lesson has been made on
20 december 2006 A type equal lesson relies purely on contingency


Geen opmerkingen:
Een reactie posten