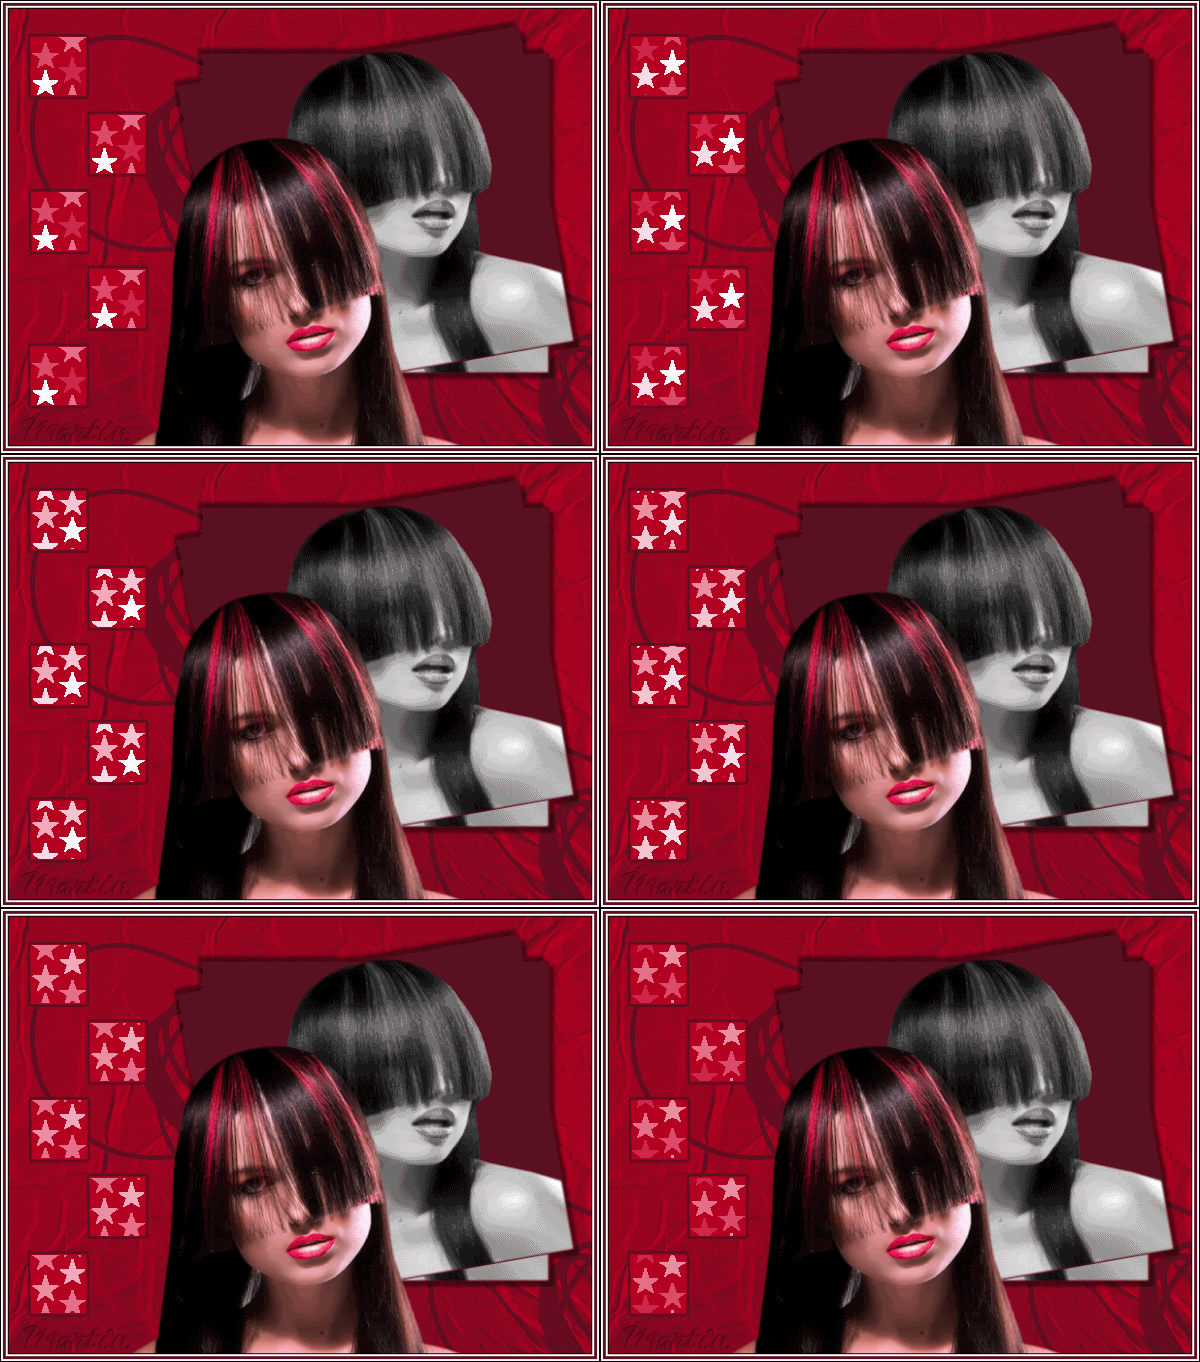
Click on the image for truth size
Needed:
2 tube of same the person
1 color tube (445 x 558 pixels)
1 black and white tube ( 442 x 563 pixels)
Masker:
Ivy_masktexture6
Brush:
SG Script
Selection:
EM Design Moving Blocks
Animation:
EM Design Greta White Stars ani
Download Material
1. Open the tube’s
2. Take two colors with you piped out your color tube, light forefront colour on a dark backgound color.
3. Open a new image 600 x 450 pixels transparent
4. Activate Flood fill tool, and fill the empty image with forefront color
5. Layers - new rasterlayer
6. Fill the layer with background color
7. Layers - mask load/save - mask - load from disk - ivy_maskertexture6
Source luminance, fit to canvas and hide all maskers active
8. Layers – delete,
At the question click Yes
9. Layers - merge - merge all flatten
10. Layers - new rasterlayer
11. Selections - selections load/save - load selection from disk - EM Design Moving Blocks
Source luminance and replace selection active
12. Selections - modify - select selections borders
Outsite – border wisth 2 – Anti alias active
13. Activate Flood fill tool, and fill the selection border image with background color
14. Selections - select none
15. Activate Magic wand and select the inside of all 4 squares
Mode: Add – tolerance and Feather 0
16. Activate Flood fill tool, and fill the selection with forefront color
17. Selections - select none
18. Activate selection tool,
Selection type: rectangle – Mode: replace – feather: 0 – Anti alias active
19. Layers - new rasterlayer and draw your rectangle

20. Activate Flood fill tool, and fill the selection with background color
21. Go to your black and white tube
edit - Copy
22. Return to your image
edit - paste -paste into selection
23. Selections - select none
24. Image - resize – 90 percent
Resize all layers not active
25. Layers-duplicate
26. Image-rotate-free rotate
Left – free 10 – all layer not active
27. Layers-merge-merge down
28. Effects - 3D effects - dropshadow

29. Repeat dropshadow, change Horizontal and vertical -5
30. Activate move tool and move your rectangle something to Right
31. Go to youw layer palette, make your background layer active
32. Layers - new rasterlayer
33. Activate paint brush,
search for SG Script - size 258
34. Click 2 times with your right mouse button
Klik 2 keer met je rechtermuisknop on the top left-end corner of the tube (see example)
35. Layers - duplicate
Layers - merge - merge down
36. Layers - duplicate
37. Activate move tool and move the copy to Right under the tube
(see example)
38. Go ro your color tube
Edit - copy
39. Go to youw layer palette, make upper layer active
40. Edit - paste - paste as a new layer
41. Activate move tool and move your tube on the correct spot
(see example)
42. Image - add borders - 1pixel - black
(click on OK by the question)
43. Image - add borders - 2 pixels - white
44. Image - add borders - 3 pixels - background color
45. Image - add borders - 2 pixels - white
46. Image - add borders - 1 pixel - black
47. Layers - new rasterlayer, Place on this your water mark
48. Layers - merge - merge all flatten
49. Image - resize – 600 pixels width
50. Edit - copy
51. Open animation shop
52. Edit - paste - paste-as a new animation
53. Edit - paste - paste after active frame
( do this seven times, now have you 8 frame)
54. Edit - select all
55. File - open – EM Design Greta White stars ani
56. Edit - select all
57. Drawer now frame 1 of Greta White stars ani to frame 1 of your new animation in the upper square
58. Return to EM Design Greta White stars ani
Edit - undo
59. Drawer now frame 1 of Greta White stars ani to frame 1 of your new animation in the second square.
60. Repeat point 58 and 59, to all square is filled
61. File - save
save – 3 times next – complete
and ready is Greta
We are very curious to your development of this tutorial.
This lesson cannot without authorisation of EM design on another
forum or website' s be placed. This lesson has been made on
15 november 2007 A type equal lesson relies purely on contingency


Geen opmerkingen:
Een reactie posten