skip to main |
skip to sidebar
Onze 10e tube!
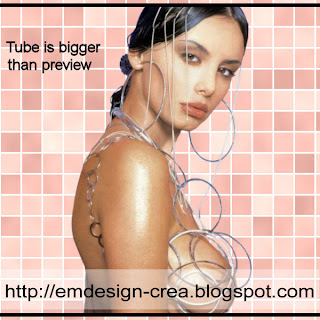

Download Hier
Please leave your comments.
Onze 12e!

Download PSP bestand Hier
Download PSD bestand Hier
Please leave your comments.
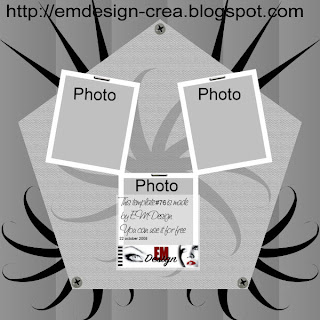
Onze 79e!
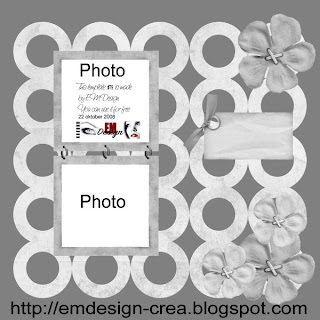
Download Hier
Please leave your comments.
Onze 9e tube!

Download Hier
Please leave your comments.
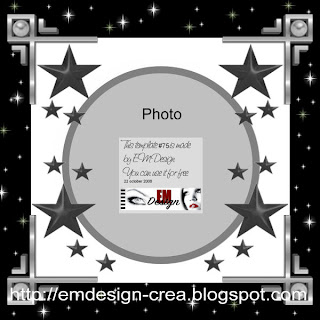
Onze 78e!

Download Hier
Please leave your comments.
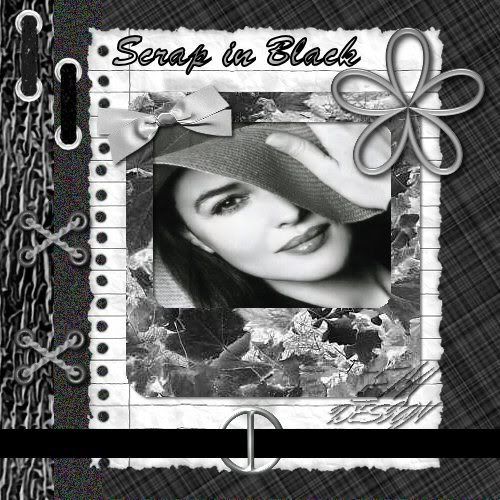
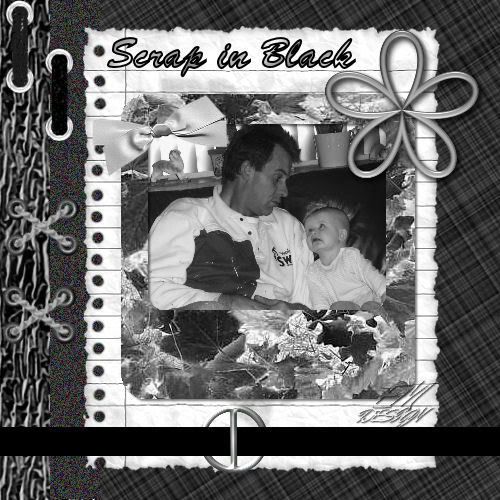
Click on the image for truth size.
Click here to make the tutorial
Another who make this tutorial, looks great, thank you!
 Made by Marianne
Click on the image for truth size.
Needed:
Scrap in black tube’s 1 t/m 11
Photo or own Tube
Download Material
1. Open the tube's in psp,
Open een new image 500 X 500 transparent.
2. Go to Scrap in black 1,
Edit - copy
3. Return to youir image
Edit - paste - paste as a new layer
4. Go now to Scrap in black 2,
Edit - copy
5 Return to your image
Edit - paste - paste as a new layer
6. Activate move tool and move these to Right against the edge.
7. Go now to Scrap in black 3,
Edit - black
8. Return to your image
Edit - paste - paste as a new layer
9. Activate move tool and move these to Right against the edge
10. Go now to Scrap in black 4,
Edit - copy
11. Return to your image
Edit - paste - paste as a new layer
12. Activate move tool and move the tube approximately in the middle
(see example)
13. Activate selection tool, rounded rectangle, Anti alias active, feather 0.
14. Pull a rectangle something larger than the opening of your frame, you tube or photo must fit in the rectangle.
If you use a photo, skip point 15 till 19.
15. Go to your tube
layers - new rasterlayar
16. Go to your Materials palette, and take with your pipette a background color from your tube.
17. Activate flood fill tool and fill the new raster layer in your tube.
18. Layers - arrange - send to bottom
19. Layers - merge - merge all flatten
Edit - copy, skip point 20
20. Go to your Photo,
Edit - copy
21. Layers - new rasterlayar
22. Return to your image,
Edit - paste - paste into selection
23. Selection - select none
24. Layers - arrange - move down, now is your tube or photo under your frame.
25. Go to your layer palette and close alle layers (by clicking on the eye),
except the layers with the frame and the tube or photo.
26. Layers - merge - merge visible
27. Go to your layer palette and open alle layers (by clicking on the eye)
28. Go to Scrap in black 5,
Edit - copy
29. Return to your image
Edit - paste - paste as a new layer
30. Activate move tool and move the tube to the lower part
under your frame (sse example)
31. Go to Scrap in black 6,
Edit - copy
32. Return to your image
Edit - paste - paste as a new layer
33. Layers - arrange - move down,
34. Layers - arrange - move down,
the tube sits now your frame
35. Activate move tool, move the tube something to left so that the eyes
on the edge sit of scrap in black tube 3 (see example)
36. Make the upper layer active in your layer palette
37. Go to Scrap in black 7,
Edit - copy
38. Return to your image
Edit - paste - paste as a new layer
39. Activate move tool and move the tube to the left upper corner.
40. Go to Scrap in black 8,
Edit - copy
41. Return to your image
Edit - paste - paste as a new layer
42. Activate move tool and move the tube to the right corner of your frame.
43. Effects -3D effects - dropshadow
Vertical en Horizontal 2, opacity 80, blur 5, color black.
44. Go to Scrap in black 9,
Edit - copy
45. Return to your image
Edit - paste - paste as a new layer
46. Activate move tool and move the tube to linker above angle of your frame, and puts the tube on your photo/tube.
47. Effects -3D effects - dropshadow
Vertical en Horizontal 2, opacity 80, blur 5, color black.
48. Go to Scrap in black 10,
Edit - copy
49. Return to your image
Edit - paste - paste as a new layer
50. Activate move tool and move the tube on the second background, exactly on the edge (see example)
51. Effects -3D effects - dropshadow
Vertical en Horizontal 2, opacity 80, blur 5, color black.
52. Layers - duplicate
53. Activate move tool and move these also on the edge, something down
54. Go to Scrap in black 11,
Edit - copy
55. Return to your image
Edit - paste - paste as a new layer
56. Activate move tool and move the tube to the upper part, on your note sheet.
57. Layers - new raster layer, and place on this your water mark.
58. Layers - merge - merge all flatten
Save and ready is Scrap in Black.
We are very curious to your development of this tutorial.
This lesson cannot without authorisation of EM design on another
forum or website' s be placed. This lesson has been made on
12 november 2006 A type equal lesson relies purely on contingency
Onze 8e tube!

Download Hier
Please leave your comments.
Onze 7e tube!

Download Hier
Please leave your comments.
Onze 6e tube!

Download Hier
Please leave your comments.
Onze 5e tube!

Download Hier
Please leave your comments.
Ons 4e!

Download Hier
Please leave your comments.
Onze 77e!
 >
>
Download Hier
Please leave your comments.
Onze 76e!
Download Hier
Please leave your comments.
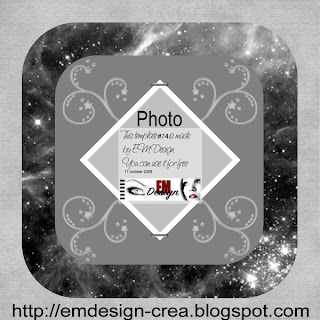
Onze 75e!
Download Hier
Please leave your comments.
Another who fills this template, looks great, thank you!
 Made by Wendy from The Netherlands

Click on the image for truth size.
Click here to make the tutorial
Click on the image for truth size.
Needed:
Vertical tube highest 375 pixels
Preset Shape:
Div 32
Plugins:
DSB flux
Eye Candy 3.1
Download material
1. Copy the preset shape Div5 to your preset shapes file in My PSP Files.
Open the tube in psp
2. Take two colors with you piped out your color tube, light forefront colour on a dark backgound color, I have chosen for white and black
3. Open a new image 500 x 500 transparent.
4. Activate preset shape tool, Div 32, create as vectorlayer , anti alias active and width 5
5. Pull the preset shape from left above to Right under
6. Objects - align - center in canvas
7. Layers - convert to rasterlayer
8. Effects – plugins - DSB Flux – gears 44-17
9. Layers - duplicate
10. Image - resize - 80%
resize all layers not active
11. Image - rotate - free rotate – right 90
12. Go to your tube,
edit - copy
13. Return to your image,
edit - paste - paste as a new layer
14. Activate move tool and move your tube to the lower part
15. Activate preset shape tool ellipse, pull the shape over your tube.
create as vectorlayer , anti alias active and width 5
16. Activate text tool, search for a beautiful font
institutions on own insight
17. stand with your mouse on the edge of the circle, now the A will stand crooked and there comes a half circle under the A.
18. Click now on your left mouse button and type your text
19. Go to your layer palette and click on the cross which state for the vector layer

20. click on the eye behind the Ellipse in your layer palette

21. Layers - convert to rasterlayer
22. Activate raster deform tool, turn the word this way that the lower part right stands
23. Activate move tool, move the word on the correct spot
(see example)
24. Effect – plugins – Eye Candy 3.1 - glow – Width 20- color white
other institution stands good.
25. Layers-new rasterlayer, place on this your water mark
26. Layers - merge - merge visible
27. File - export - GIF optimizer
Transparency:

Partial transparency:

28. Save and ready is Catastrofe.
We are very curious to your development of this tutorial.
This lesson cannot without authorisation of EM design on another
forum or website' s be placed. This lesson has been made on
21 december 2006 A type equal lesson relies purely on contingency


Klik op de bewerking voor ware grootte.
Klik hier om de les te maken
Onze 3e!

Download Hier
Please leave your comments.
Onze 74e!
Download PSP bestand Hier
Download PSD bestand Hier
Please leave your comments.

Click on the image for truth size
Click here to make the tutorial
Click on the image for truth size
Needed:
Tube’s:
Cat Blendles (146 x 227)
Hond blendles ( Dog 209 x 149)
Kop Blendles ( Head 132 x 268)
Vrouw blendles (Woman 173 x 345)
Pyramide blendles (pyramid
544 x 303)
Mask:
Egypth Blendles Masker
Plugin:
Unlimited 2.0
VM Natural
Download material
1. Open the tube and mask in psp
2. Take two colors, I have chosen for #d8d8b4 as forefront color and #8f8c7b as background color
3. Open a new image 500 x 500 transparent.
4. Activate Flood fill tool and fill the image with your forefront color
5. Layers - new rasterlayer
6. Fill the image now with your background color
7. Layers - new mask layer - from image – Egypth blendles masker
source luminance active and invert mask dat NOT active
8. Layers - merge - merge all flatten
9. Effects – plugins - Unlimited 2.0 - paper textures – papyrus - 66-96
10. Go to your Pyramide blendles tube
Edit - copy
11. Return to your image
Edit - paste - paste as a new layer
12. Activate move tool and move the pyramide something up with the point of the pyramide against above side. (see Example)
13. Go to your layer palette and change blend mode: luminance old and opacity: 80
14. Go to your kat blendles tube
Edit - copy
15. Return to your image
Edit - paste - paste as a new layer
16. Go to your layer palette and change blend mode: luminance old
17. Effects - 3D effects - dropshadow
Horizontal and vertical 2- opacity 50- blur 5- black
18. Activate move tool and move this tube to left
(see example)
19. Go to your kop blendles tube
Edit - copy
20. Return to your image
Edit - paste - paste as a new layer
21. Go to your layer palette and change blend mode: luminance old
22. Effects - 3D effects - dropshadow
Horizontal and vertical 2- opacity 50- blur 5- black
23. Activate move tool and move this tube on the top right
(see example)
24. Go to your vrouw blendles tube
Edit - copy
25. Return to your image
Edit - paste - paste as a new layer
26. Go to your layer palette and change blend mode: luminance old
27. Effects - 3D effects - dropshadow
Horizontal and vertical 2- opacity 50- blur 5- black
28. Activate move tool and move this tube to against the lower part
(see exaqmple)
29. Layers - duplicate
30. Effects - plugins - vm natural - spash
121-123-19-17-22
31. Layers - arrange - move down
32. Go to your layer palette and make upper layer (raster 4) active
33. Image - resize - 80%
Resize all layer NOT active
34. Activate move tool and move this tube to down against the edge.
(see example)
35. Go to your hond blendles tube
Edit - copy
36. Return to your image
Edit - paste - paste as a new layer
37. Go to your layer palette and change blend mode: luminance old and opacity: 80
38. Effects - 3D effects - dropshadow
Horizontal and vertical 2- opacity 50- blur 5- black
39. Activate move tool and move this tube Right below in the angle
(see example)
40. Activate text tool, font PegsannaHMK, create as vector
size 48, stroke width 1, anti alias active
41. Type your text and puts the text something slantingly
(see example)
42. Layers - convert to rasterlayer
43. Effects - 3D effects - dropshadow
Horizontal and vertical 2- opacity 50- blur 5- black
44. Layers - merge - merge visible
45. Layers - new rasterlayer
46. Activate Flood fill tool and fill the image with background color
47. Layers - arrange - move down
48. Go to the layer palette and make added layer active
49 Effects – plugins – unlimited 2.0 - age square - square age 4
50. Layers - new rasterlayer, place on this your water mark
save as jpg and ready is Egypth Blend
We are very curious to your development of this tutorial.
This lesson cannot without authorisation of EM design on another
forum or website' s be placed. This lesson has been made on
January 11 2007 A type equal lesson relies purely on contingency


 Made by Marianne

 Made by Wendy from The Netherlands


 Made by Wendy from The Netherlands
 Groeten,
Esther en Martin
EM Design
Groeten,
Esther en Martin
EM Design


