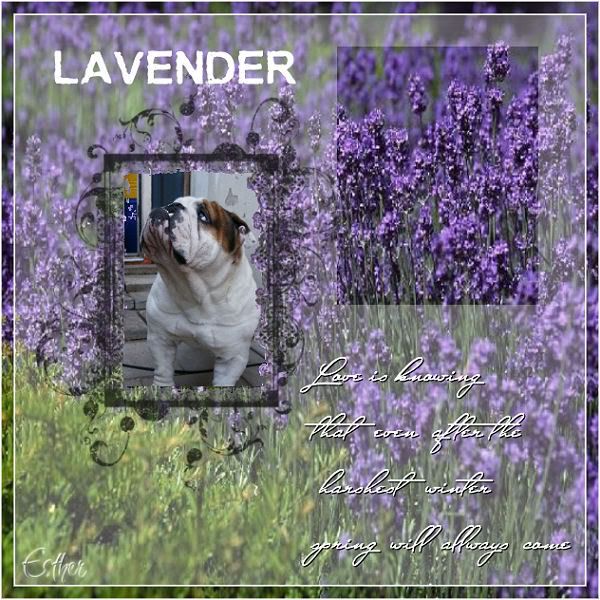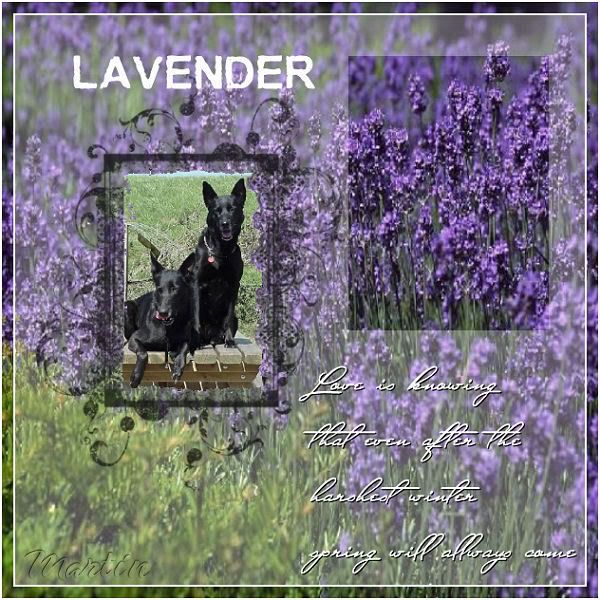
Click on the image for truth size.
Needed:
Photo 172 x 230 pixels
Lavender achtergrond
Lavender overlay
Lavender brush
Miss Standfort font.
Download Material
1. Open your photo, lavender achtergrond and lavender overlay in psp
2. Open a new image 600 X 600 pixels transparent..
3. Selections - select all
4. Go to your lavender achtergrond
Edit - copie
5. Return to your new image.
Edit – paste - paste into selection
6. Selections-select none
7. Go to your Lavender overlay,
Edit - copie
8. Return to your new image,
Edit – paste - paste as a new layer
9. Activate Magic wand, tolerance and feather 0, mode: to replace
select in the middle of the frame from your overlay
10. Go to your photo,
Edit - copie
11. Return to your image,
Edit – paste - paste as a new layer
12. Activate the mover, drawer your photo in the selection
13. Selections - invert
Press now on delete on your keyboard
14. Selections-select none
15. Activate your text tool, Font: Miss Stanfort
Size 48, make as vector
16. Set your background color and forefrond color on white
17. Write the next text, puts between each word double spacing
“ Love is knowing
that even after the
harshest winter
spring will allways come”
18. Make the text now tailored and drawer these to the right lower part
19. Layers - convert to rasterlayer
20. Effects-3D effects-dropshadow
vertically and horizontal 1, 0pacity 100 , blur 0, Color black.
21. Activate Selection tool - Rectangle
appetite now a rectangle above your text
22. Go to the Layer palette and make raster 2 (overlay) layer active
Press now on delete on your keyboard
23. Selections - select none
24. Activate Paint Brush , search for brush Lavender – Size 304
25. Stamp 1 time above your photo
26. Layers – merge - merge all flatten
27. Image - add borders – 2 pixels –white
28. Image - add borders – 12 pixels black
29. Image - add borders – 2 pixels –white
30. Activate Magic wand, Select the black border,
31. Go to your Lavender achtergrond,
Edit - copie
32. Return to your image,
Edit – paste - paste into selection
33. Selections - select none
34. Layers-new rasterlayer, place on this layer your water mark.
35. Image - resize - 600 pixels
36. Adjust – sharpness - sharpen
Save the lesson and ready is Lavender.
We are very curious to your development of this lesson.
This lesson cannot without authorisation of EM design on another
forum or website' s be placed. This lesson has been made on
1 august 2008 A type equal lesson relies purely on contingency


Geen opmerkingen:
Een reactie posten