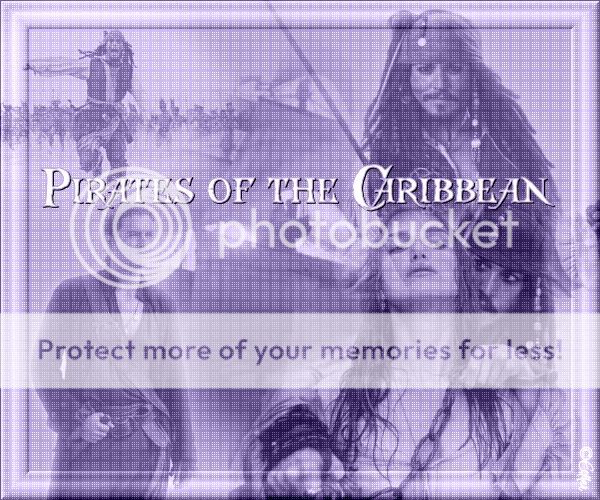
Click on the image for truth size.
Needed:
Tube Pirate 1
Tube Pirate 2
Tube Pirate 3
Tube Pirate 4
Tube Pirate 5
Plugin:
Penta Com
Filter Unlimted 2.0
Download material
1. Open the tubes in psp
2. Go to the materials palet and set foreground color on #b7a5dd and background color on White
3. Open a new image 600 x 500 transparent
4. Activate flood fill tool and fill the image with foreground color
5. Go to the tube Pirate 1
Edit - copy
6. Return to your image,
Edit - paste - paste as a new layer
7. Go to your layer palet, set blendmode luminace (legacy) – opacity 55
8. Go to the tube Pirate 2,
Edit - copy
9. Return to your image,
Edit - paste - paste as a new layer
10. Image – resize – 45 percent
Unmark resize all layers
11. Go to your layer palet, set blendmode luminace (legacy) – opacity 60
12. Activate move tool and move the tube to left below
(see example)
13. Go to the tube Pirate 3,
Edit - copy
14. Return to your image,
Edit - paste - paste as a new layer
15. Image – resize – 60 percent
Unmark resize all layers
16. Go to your layer palet, set blendmode luminace (legacy) – opacity 75
17. Activate move tool and move the tube to right below
(see example)
18. Go to the tube Pirate 4,
Edit - copy
19. Return to your image,
Edit - paste - paste as a new layer
20. Image – resize – 75 percent
Unmark resize all layers
21. Activate move tool and move the tube to on the top left-end corner
(see example)
22. Go to your layer palet, set blendmode luminace (legacy) – opacity 40
23. Go to the tube Pirate 5,
Edit - copy
24. Return to your image,
Edit - paste - paste as a new layer
25. Go to your layer palet, set blendmode luminace (legacy) – opacity 62
26 Activate move tool and move the tube to on the top right-end corner
(see example)
27. Layers - arrange - move down
28. Layers - arrange - move down
29. Go to the layer palet and make raster 4 active ( tube with men and woman)
30. Layers - arrange - bring to top
31. Activate text tool, font: Caribbean’s Treasure - size 50
stroke width: 1,0 - create as vector
32. Write the text: Pirates of the Caribbean – move the text nicely in the middle
33. Layers - convert to rasterlayer
34. Effects – 3d effects – drop shadow,
Horizontal 1 – vertical 1 - opacity 100 – blur 0 – color zwart
35. Layers - new raster layer, place on this your water mark
36. Go to the layer palet and close raster 7 (text)
(by clicking on the eye)
37. Layers - merge - merge visible
38. Effects – plugins – Penta Com – Dot & Cross – standaard instellingen
39. Go to the layer palet and open raster 7
(by clicking on the eye)
40. Layers - arrange - send to bottom
41. Layers - merge - merge visible
42. Effects – plugins – Filter Unlimited 2.0 – Buttons and Frames – 3D Glass Frame I
Framesize 30 – contrast 75
Save and ready is Pirates of the Carribean
We are very curious to your development of this tutorial.
This lesson cannot without authorisation of EM design on another
forum or website' s be placed. This lesson has been made on
15 may 2009 A type equal lesson relies purely on contingency


1 opmerking:
Bedankt voor de mooie tubes!
groetjes uit Noord Holland,
Coos
Een reactie posten