skip to main |
skip to sidebar
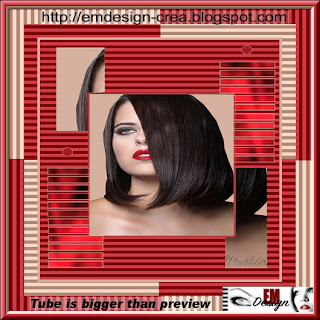
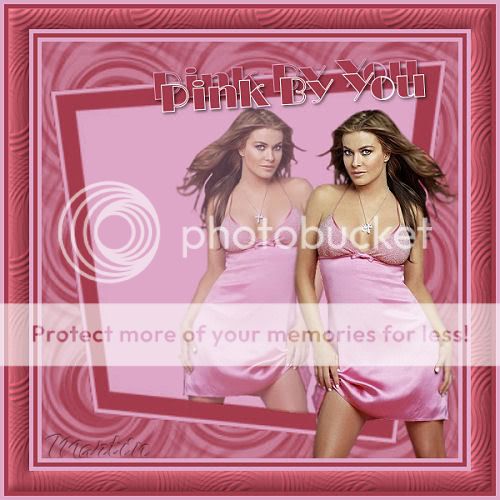
Onze 81e tube!
 Les die ik gebruikt heb is geschreven door Yvette van PSP4Ever
Download Hier
Please leave your comments.
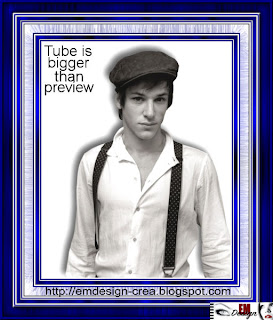
Onze 80e tube!
 Les die ik gebruikt heb is geschreven door Yvette van PSP4Ever
Download Hier
Please leave your comments.
Onze 79e tube!

Download Hier
Please leave your comments.
Onze 78e tube!
 Les die ik gebruikt heb is geschreven door Yvette Design
Download Hier
Please leave your comments.
Onze 77e tube!
Les die ik gebruikt heb is geschreven door Jet van PSPJet.nl
Download Hier
Please leave your comments.
Onze 76e tube!
Les die ik gebruikt heb is geschreven door Anneke van PSP4You
Download Hier
Please leave your comments.
Onze 100e Yeahhhh!!
Download Hier
Please leave your comments.
Onze 99e!

Download Hier
Please leave your comments.
Onze 75e tube!
 Les die ik gebruikt heb is geschreven door angelika van PSP4You
Download Hier
Please leave your comments.

Klik op de bewerking voor ware grootte.
Benodigdheden:
Tube
Selecties:
EM Design 124
Font:
MC Capone
Insteekfilters:
Alian skin eye candy 5 textures
Filter factory gallery G
Materiaal
1. Open je tube in psp
2. Zet je voorgrondkleur op zwart en achtergrondkleur op rood
3. Open een nieuwe afbeelding 500 x 500 pixels transparant
4. Selecties – selectie laden/opslaan - selectie laden van schijf - EM Design 124
Luminantie van bron en Selectie vervangen aangevinkt
5. Lagen - nieuwe rasterlaag
6. Activeer je vulemmer en vul deze met je achtergrondkleur.
7. Selecties - niets selecteren
8. Ga naar je tube
Bewerken - kopieren
9.Ga terug naar je afbeelding
Bewerken – plakken - plakken als nieuwe laag
10. Activeer je verplaatsingstool en schuif naar recht voor selectie
zie voorbeeld
11. Zet je tube laag op slot (raster 3) door op het oogje te klikken van je lagen palet
Maak raster 2 (selectie laag) actief.
12. Activeer je toverstaf, modus op vervangen, tolerantie en doezelen op 0,
selecteer de linker rechthoek van je selectie
13. Effecten - insteekfilters - Alian skin eye candy 5 textures – raptile skin

14. Selecteer de rechter rechthoek van je selectie
15. Effecten – insteekfilter - Alian skin eye candy 5 textures – raptile skin
16. Selecties - niets selecteren
17. Open raster 3 (tube laag) door op het oogje te klikken in je lagen palet en
maak de laag actief
18. Lagen - dupliceren
19. Effecten – insteekfilters - filter factory gallery G – noise emboss –
80-66-104
20. Lagen – schikken - omlaag verplaatsen
21. Maak raster 3 actief in je lagen palet
22. Activeer je tekstgereedschap
MC Capone, maken als vector, grootte 60, steekbreedte 1, anti alias aangevinkt
23. Type je eerste woord en zet deze op de juiste plek
24. Lagen - omzetten in rasterlaag
25. Type je tweede woord en zet deze op de juiste plaats
26. Lagen – omzetten in rasterlaag
27. Herhaal 25 en 26 tot dat je alle woorden hebt
28. Activeer je toverstaf, modus toevoegen, tolerantie en doezelen op 10
29. Selecteer de letter van de laag die nu actief is.
30. Effecten - textuureffecten - lamelle

31. Selecties - niets selecteren
32. herhaal punt 29 t/m 31 met alle woorden
Let op maak elke keer laag van een woord actief in je lagen palet
33. Maak je bovenste laag actief
34. Lagen – nieuwe raster laag, plaats hier je watermerk
35. Zet alle lagen op slot waar een woord staat, door op het oogje te klikken van je lagen palet
36. Bewerken – samengevoegd kopieren
37. open anitmatie schop
38. bewerken – plakken – plakken als nieuwe animatie
39. Animatie – eigenschappen voor frame - 40
40. ga terug naar psp
open de laag waar je bovenste woord staat, in mijn geval “Will”
die staat op raster 4
41. Bewerken – samengevoegd kopieren
42. Ga nu weer naar animatie shop
Bewerken – plakken – plakken na actieve frame
43. Animatie – eigenschappen voor frame – 40
44 Herhaal stap 40 t/m 43 tot je alle woorden één voor één hebt gehad.
Let op!!! Bij het laatste woord snelheid voor frame moet 100 zijn.
Opslaan en klaar is Will you be mine
Wij zijn heel benieuwd naar jouw uitwerking van deze les.
Deze les mag niet zonder toestemming van EM Design
op een andere forum of website's geplaatst worden.
Deze les is gemaakt op 7 januari 2007
Een soort gelijke les berust louter op toevalligheden

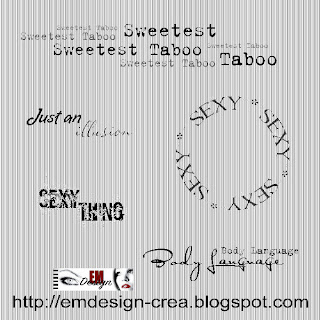
Onze 8e Word Art!
Download Hier
Please leave your comments.
Onze 74e tube!

Download Hier
Please leave your comments.
Onze 98e!

Download Hier
Please leave your comments.
Onze 73e tube!
 Les die ik gebruikt heb is geschreven door Lijntje van PSP4You
Download Hier
Please leave your comments.
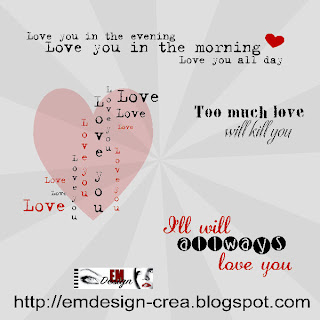
Onze 7e Word Art!
Download Hier
Please leave your comments.
Onze 72e tube!
Download Hier
Please leave your comments.
Onze 71e tube!
Download Hier
Please leave your comments.
Onze 96e!

Download Hier
Please leave your comments.
 Les die ik gebruikt heb is geschreven door Yvette van PSP4Ever

 Les die ik gebruikt heb is geschreven door Yvette Design


 Made by Wendy from The Netherlands
 Made by Ludivine from France
 Groeten,
Esther en Martin
EM Design
Groeten,
Esther en Martin
EM Design


